


Water Saver installation sheets.
1. Contents of the installation sheets.
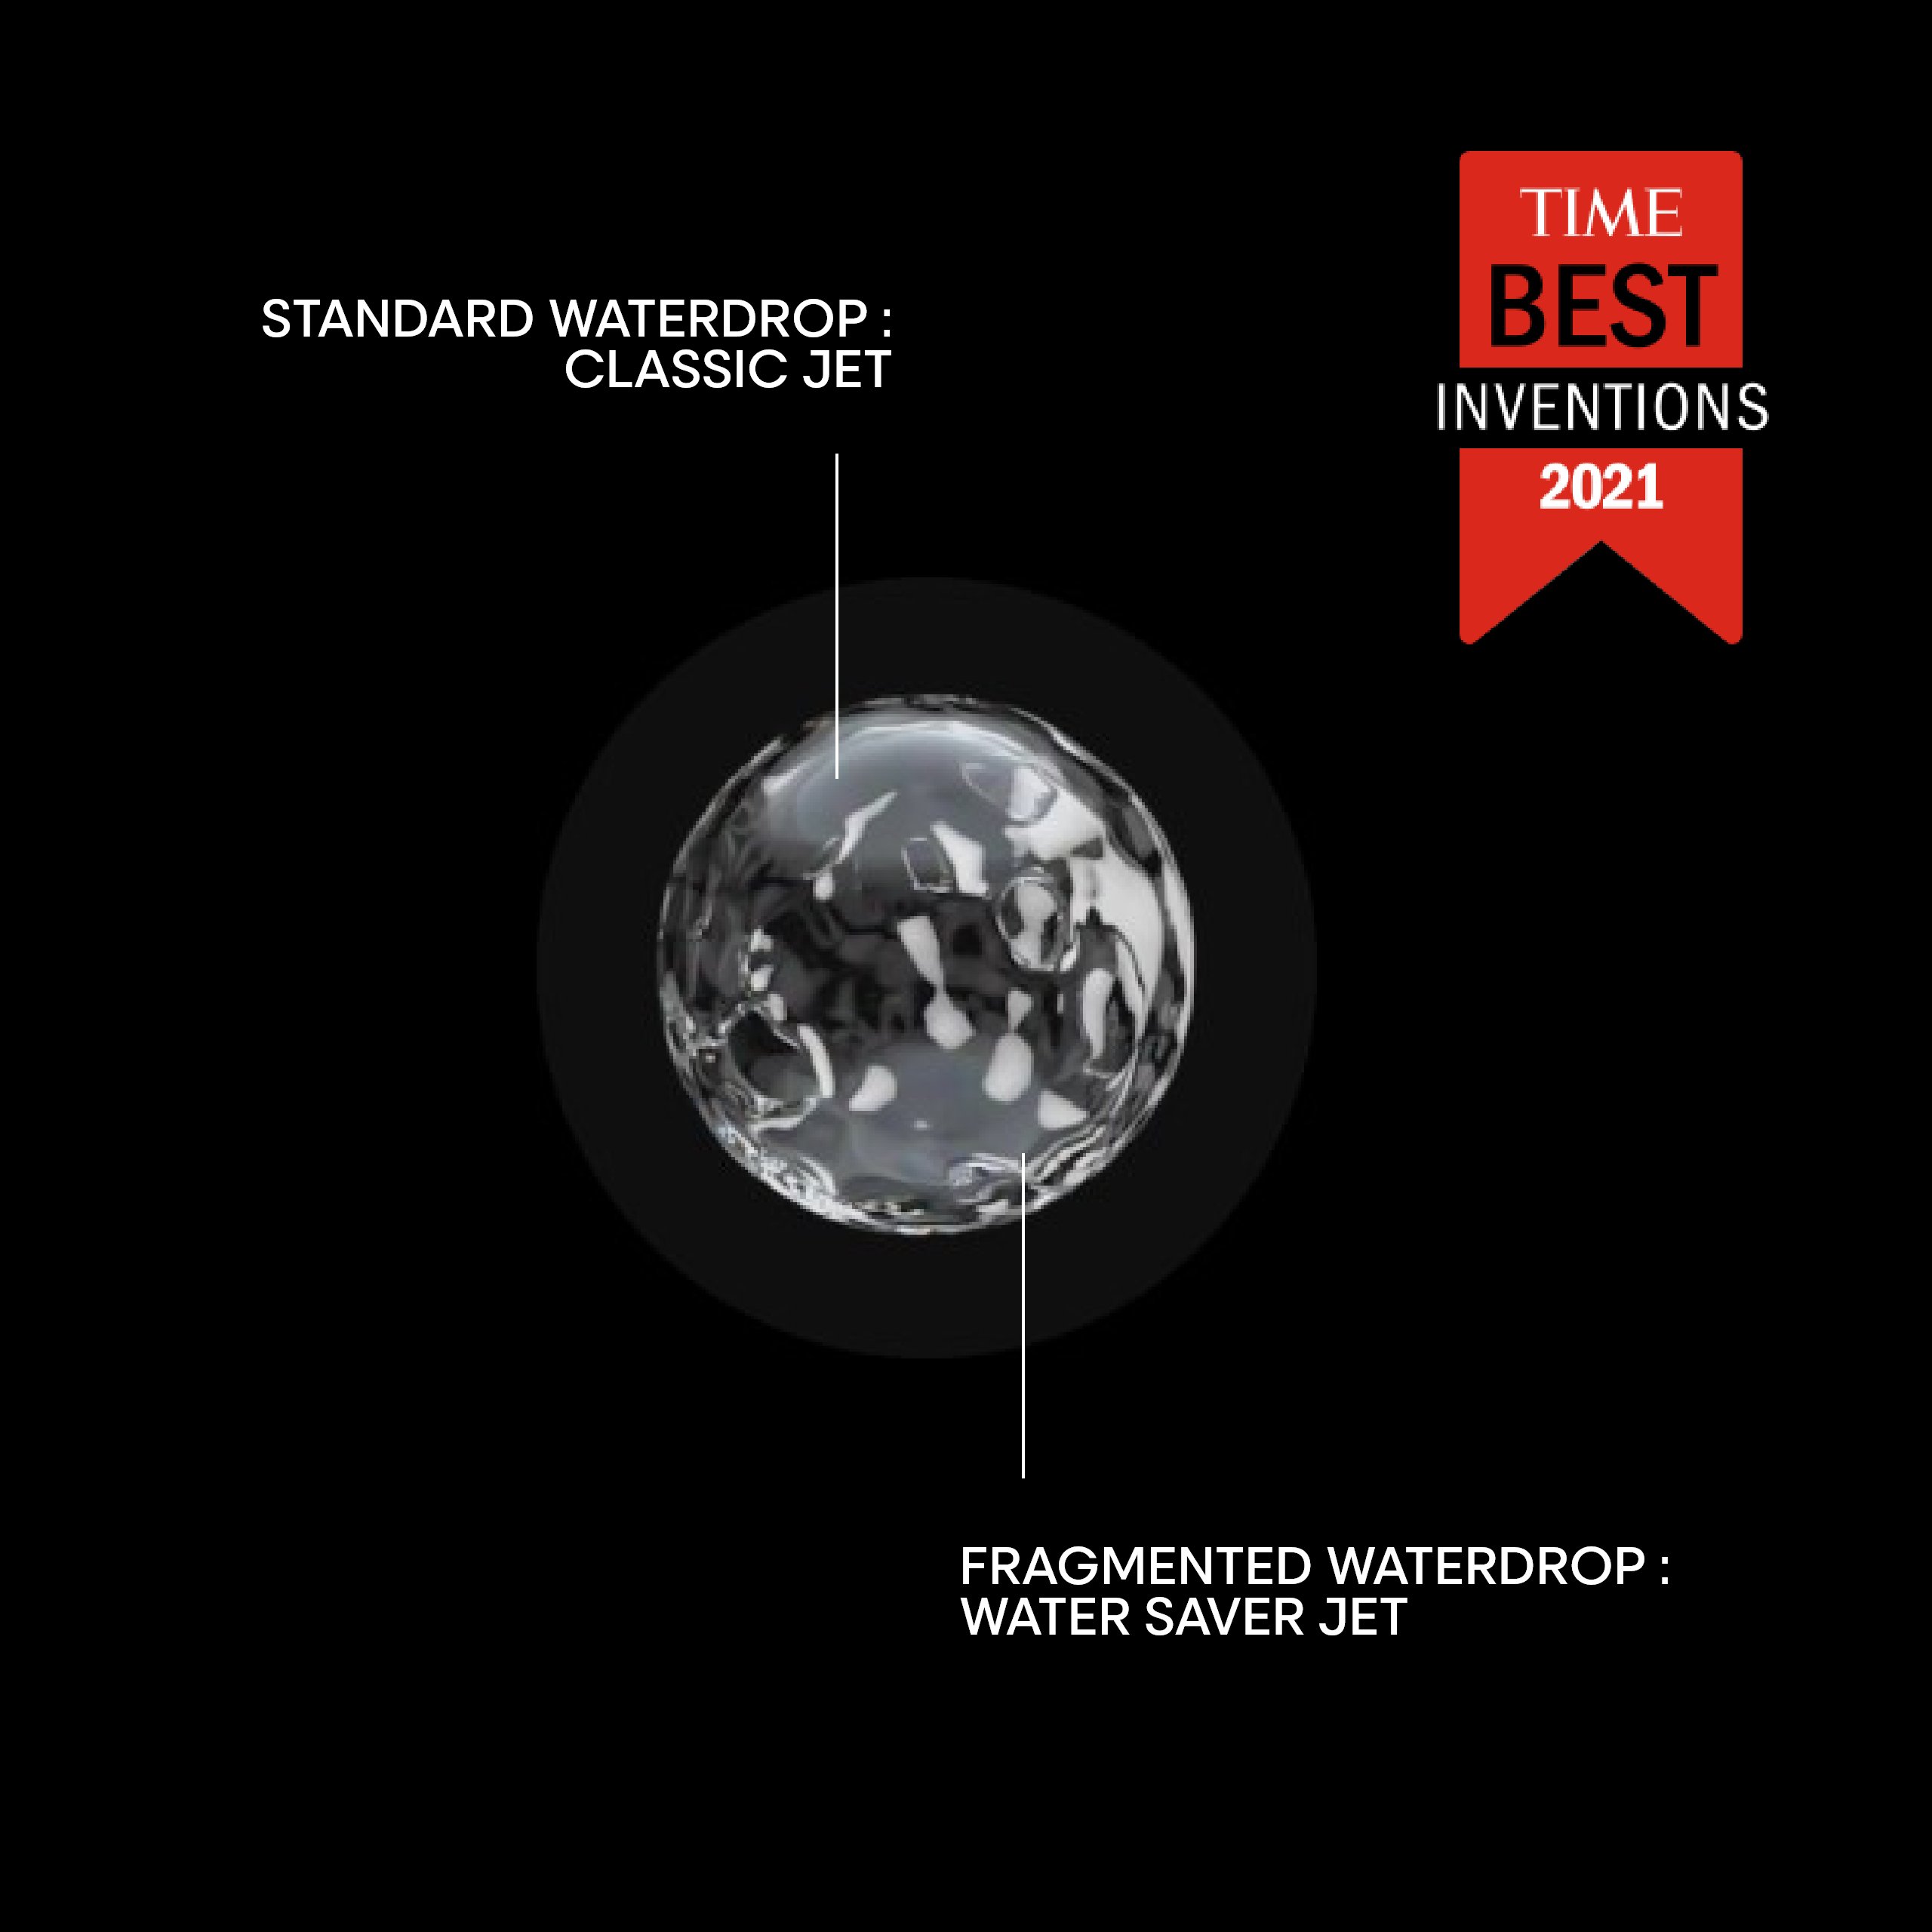
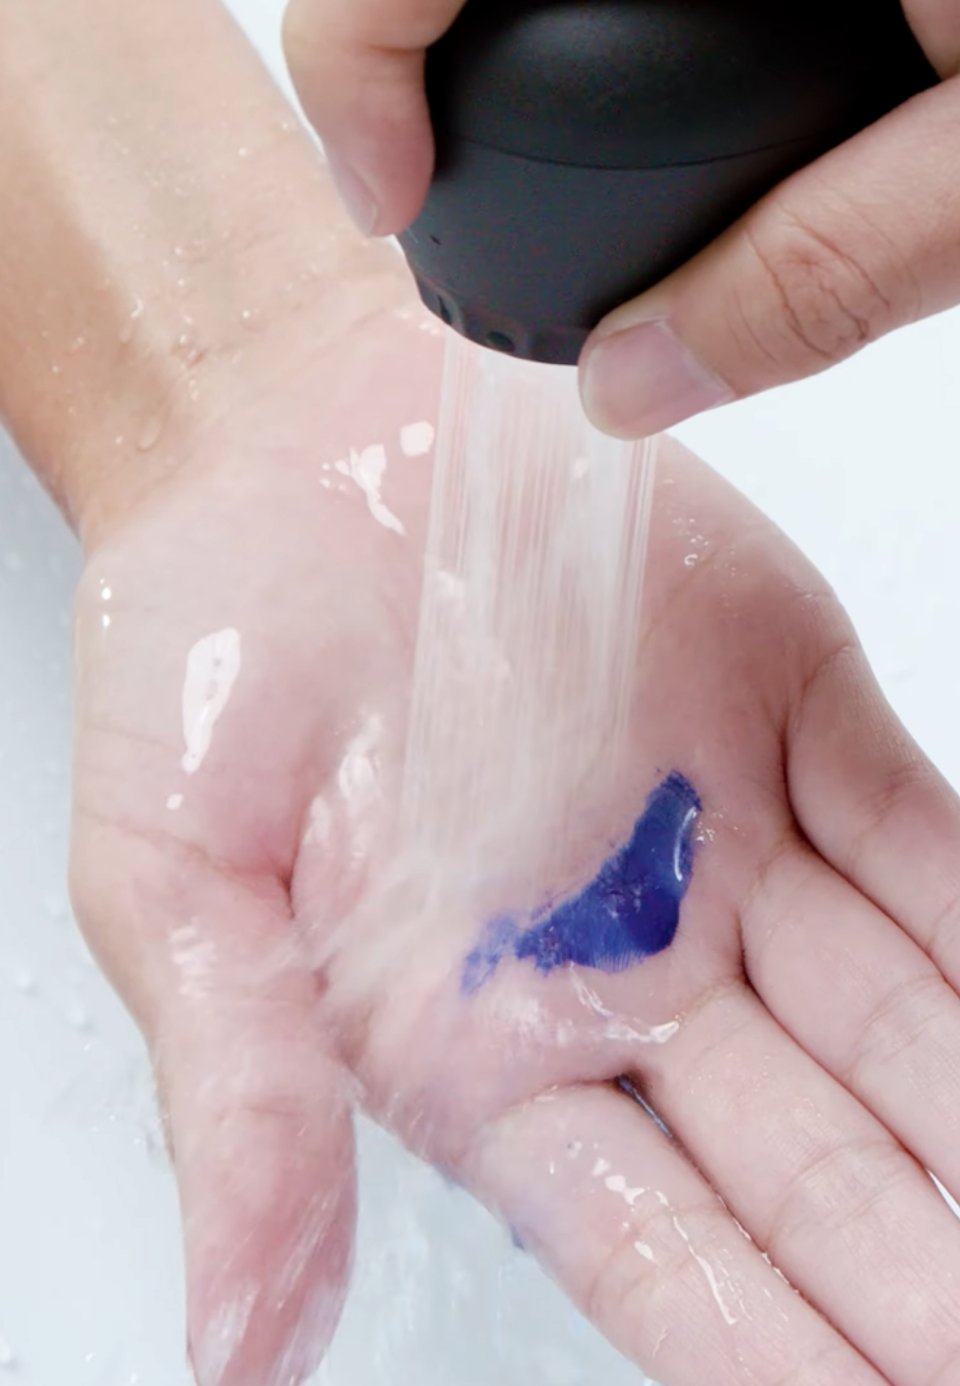
2. Types of backwash inks.
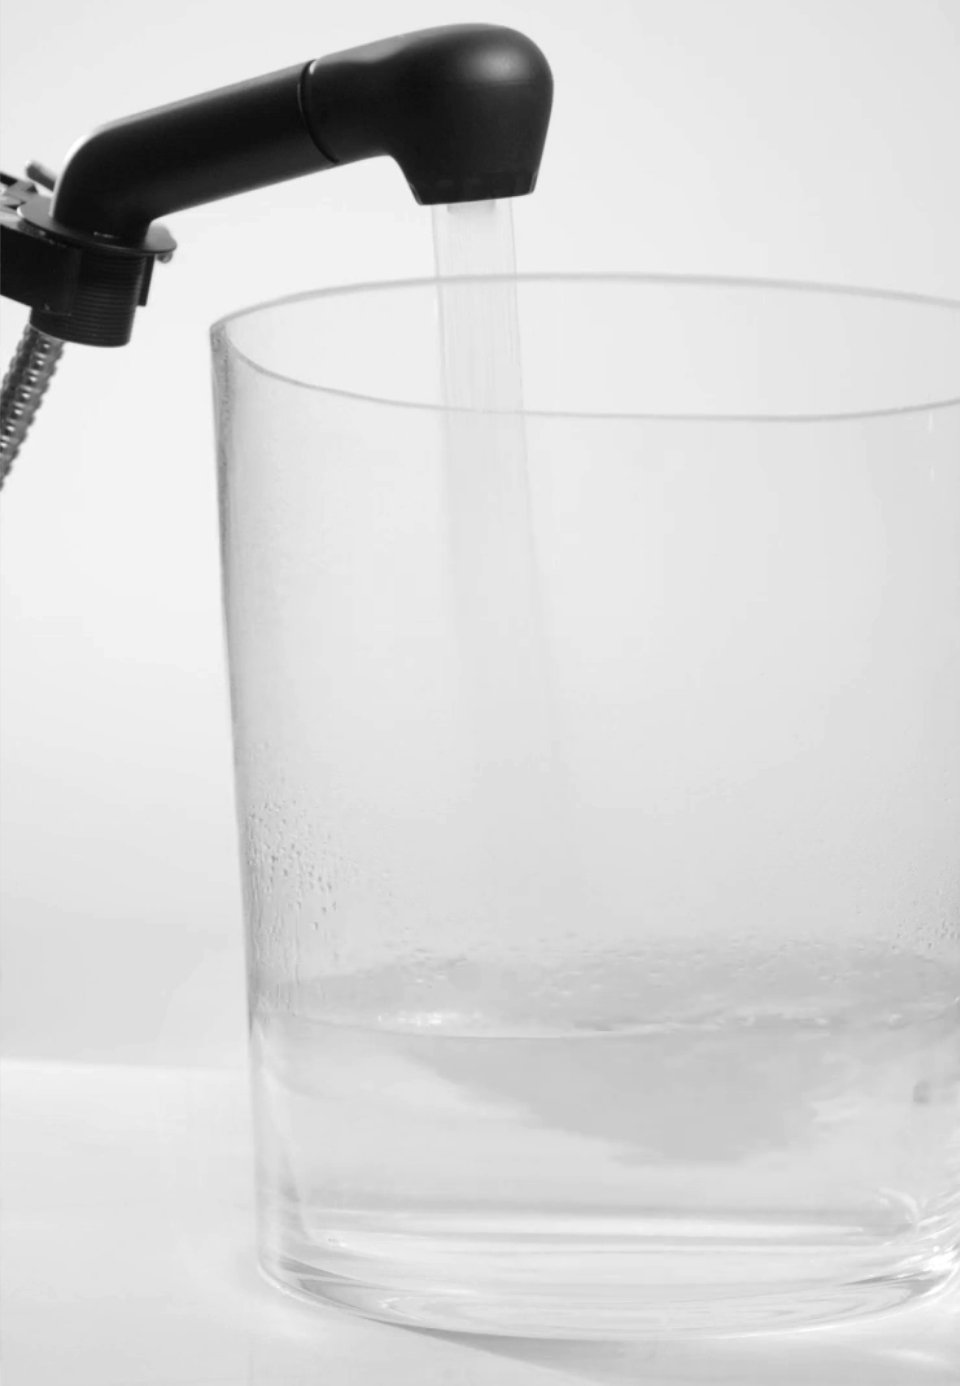
3. How to install Aquastop.
4. How to install Easydock.

1. Contents of the installation sheets.
2. Types of backwash inks.
3. How to install Aquastop.
4. How to install Easydock.
All you need to know about the installation process and more.
For information or support.
Austria
+4921133995808
Czech republic
+420702120401
France
Tech : +33969363028
Facturation : +33986860333
Ireland
+3531800535616
Lithuania
+370880020702
Portugal
+351808201404
Slovakia
+420725952154
Switzerland
French : +41581051324
German : +41581051314
Belgium
+3225880106
Denmark
+46858615310
Germany
+4921133995808
Israel
[email protected]
[email protected]
Netherlands
+31852250678
Romania
+40212040004
[email protected]
Slovenia
[email protected]
Turkey
[email protected]
Bulgaria
[email protected]
Estonia
+3728002001
Greece
+30216188531, +308001130030
Italy
+390281480162
Norway
+4767112750
Russia
+7(800)5001488
Spain
+34911774444
ukraine
For information support, contact your business consultant L'Oreal Professionnel.*
Croatia
[email protected]
Finland
+3580945263340
Hungary
+36302586290
Latvia
+37180000222
Poland
+48223358800
Serbia
[email protected]
Sweden
+46858615310
United kingdom
+448000304034
1 Для інформаційної підтримки зв’яжіться з вашим бізнес-консультантом L'Oréal Professionnel.